Ceiling Fan Installation: What to Check Before You Buy
A well chosen ceiling fan makes a Melbourne summer far more bearable and cuts air conditioning running costs, but plenty of fans get bought online, installed correctly and still disappoint. The reason is almost always a mismatch between the fan and the room: the wrong blade span, not enough clearance, a light kit that dazzles, or a wiring setup that cannot support the control the owner wanted. Fifteen minutes of checking before you buy avoids all of it. Here is what to look at.
Match blade span to room size
Blade span drives air movement more than motor power does. As a rough guide, bedrooms and studies up to around 12 square metres suit a fan of about 1200mm. Standard bedrooms and smaller living rooms suit 1300 to 1400mm. Large living areas and open plan spaces need 1400mm or more, and very large rooms often work better with two smaller fans than one big one.
Undersized fans get run flat out and become noisy. Oversized fans in small rooms create uncomfortable draughts at the edges. If a room is long and narrow, two fans spaced along it will feel far more even than a single central unit.
Blade count is mostly about noise and looks rather than performance. Three blades move air efficiently and suit outdoor and high-airflow use. Four and five blade fans typically run a little quieter, which matters in bedrooms.
Check your ceiling height and clearances
Australian requirements call for at least 2.1 metres of clearance from the floor to the blades, and it is sensible to allow more in a room where anyone might stand on a bed. For a standard 2.4 metre ceiling that means a low-profile or hugger fan mounted close to the ceiling.
Ceilings above about 2.7 metres need a drop rod so the fan sits in the airflow zone rather than pushing air against the ceiling. Raked or cathedral ceilings need a fan rated for angled mounting and usually a longer rod with an appropriate canopy, and not every fan supports steep pitches.
You also need horizontal clearance, ideally around 500mm from blade tip to the nearest wall, beam or bulkhead. Fans installed too close to a wall are noisy and move much less air than they should.
Motor type, noise and running cost
DC motor fans have become the default choice for good reason. They use substantially less energy than an equivalent AC fan, run quieter, offer more speed steps, and almost always include a remote with a reverse function.
AC motor fans are cheaper to buy, generally simpler, and can be run from a standard wall controller. They suit outdoor areas, garages and rooms where a hardwired wall control is preferred over a remote.
Reverse mode is worth having. Running the fan slowly in reverse during winter pushes warm air off the ceiling back down into the room, which helps a lot in homes with high ceilings and ducted heating.
Wiring, controls and what your ceiling can support
The most common surprise is control wiring. If the existing ceiling point only has a single switched active from the wall, and you want separate wall control of fan and light, that needs another conductor run back to the switch. A remote-controlled fan avoids this, which is why remotes are the practical choice in most retrofits.
The second surprise is mounting. A ceiling fan is a moving load and must be fixed to structural timber or a purpose-made brace, never to plasterboard or an existing light hook alone. In older homes with lath and plaster ceilings we often need roof space access to fit a proper mounting batten.
Outdoor fans need to be rated for the location. A covered alfresco area needs an outdoor-rated fan with sealed motor housing and ABS or treated blades, because standard timber blades warp and metal blades corrode in Melbourne weather.
Fans with lights, and lighting the room properly
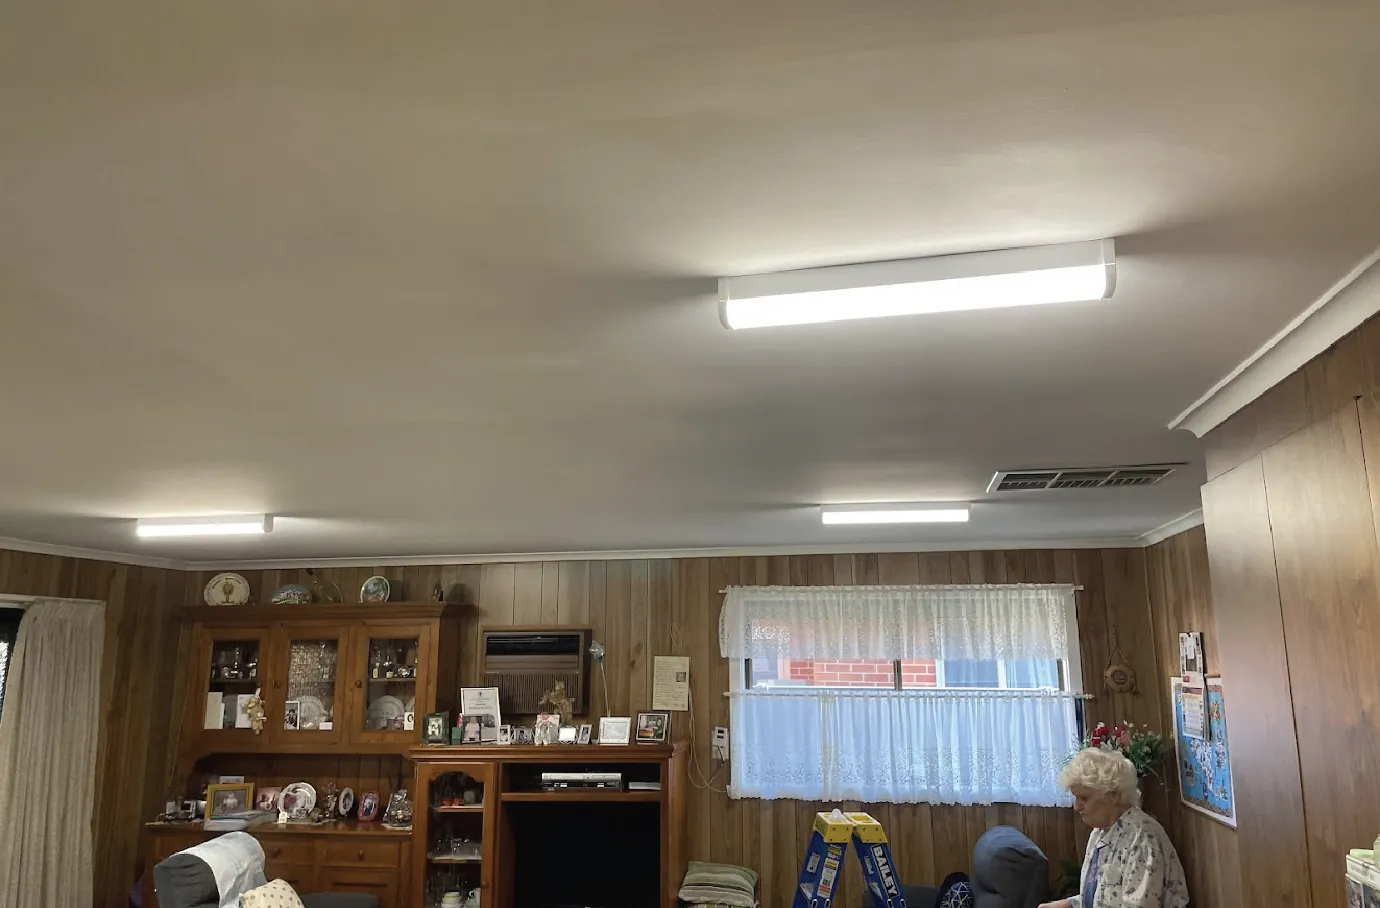
A fan light kit rarely lights a room well on its own. The blades create flicker and shadow, and the single central source leaves corners dark. In a bedroom this is usually fine. In a living area, plan the fan for air movement and light the room separately with downlights or perimeter lighting.
If you are already changing the lighting, doing both at once saves a second visit and a second set of ceiling patches. Our LED lighting upgrades pair well with a fan install because the layout can be planned around the fan position from the start.
Watch the colour temperature of the fan light so it matches the rest of the room. A cool white fan light in a room of warm white downlights looks obviously wrong once the sun goes down.
Installation, timing and safety
Ceiling fan installation is licensed electrical work. A typical replacement into an existing ceiling point takes about an hour. A new position without an existing point takes longer because the cable needs running and the mounting has to be built in the roof space.
During installation we confirm the circuit can carry the load, secure the mounting to structure, balance the blades to eliminate wobble, test the controls and reverse function, and finish with a Certificate of Electrical Safety.
Near Me Electrical installs ceiling fans across Melbourne as part of our appliance installation service, and we are happy to advise on sizing before you buy. Call 0405 592 496 or send a photo of your ceiling and we will tell you what will fit.